In simple words, user test is how I evaluate how effective my product is on my users. This iterative process could be used on product concept, low-fi prototype and final system. It’s is a perfect diagnostic tool to use for continuous improvment.
In this article, I would be stating how to effectively perform a user test but before that, I will share my objectives for conducting a user test, the types of user test, and the different phases I observed while conducting the user test.
My Objectives for Conducting a User Test
My purposes for carrying out a usability test are:
- to validate hypothesis or new ideas about my product;
- to help identify usability problems or areas where the consumers struggle with my product and make amendment;
- to collect quantitative and qualitative data;
- to improve the design of my product or prototype before making development.
Most importantly, this test helps me to know how the users interact with the product. It also gives me insights and helps me collect feedback from the users. In short, it simply optimizes the user experience on a function or part of a website or mobile app. I ask the user to execute some task on the interface and I let him think aloud.
At D-Sprint we cross user testing with other UX methods like 5 second test when we start, and at the end of the test, usability scales as DEEP or SUS surveys, and Attrakdif for subjective perception .
Types of User Tests
The major types of user tests that I usually make use of include:
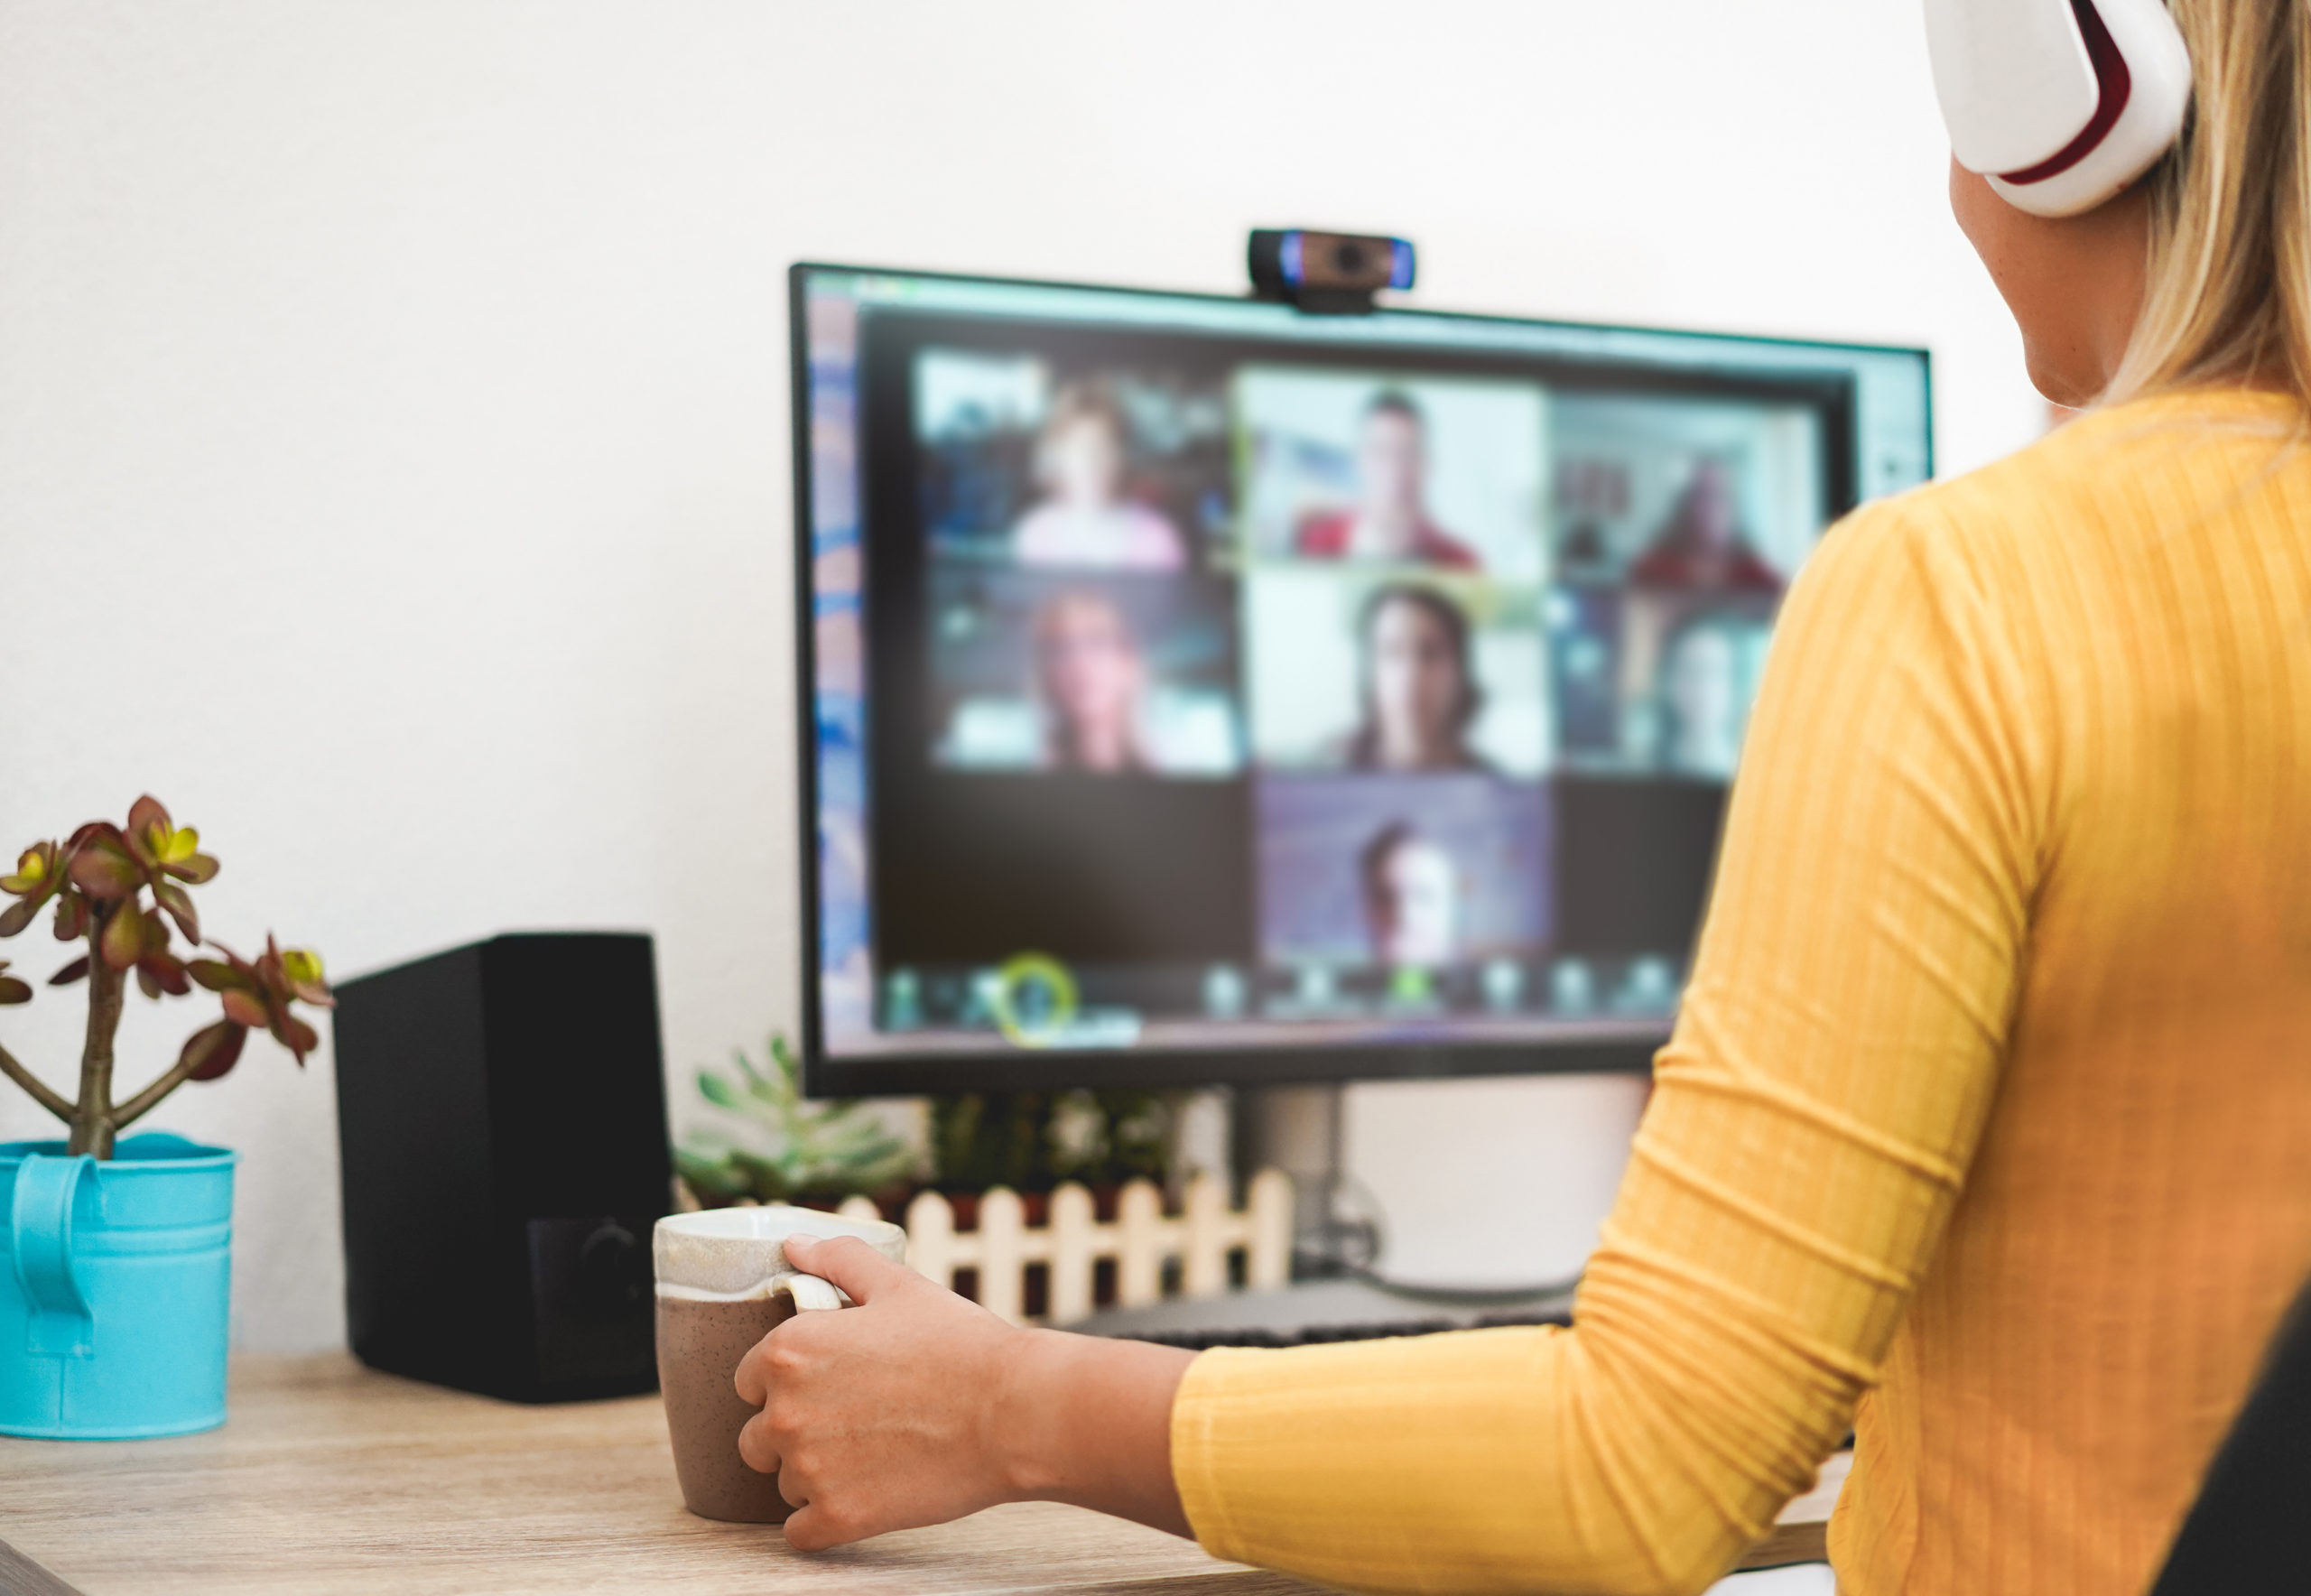
Remote User Testing
This is a test that consists of three to five tasks and is always between 30–60 minutes long. In this test, I make use of an online remote service or screen-sharing software to monitor the consumers/users of my product in their own natural environment. In this method, I do not involve myself as a researcher. It is quick and cheap especially for collection of large data. However, this type of user testing does not allow me to involve active questioning and it is limited. It also does not give room for me to get enough feedback from my product users.
At D-Sprint, we used to work with Lookback or UserZoom but solutions like Testapic, User Testing, TrymyUI are also great for unmoderated user testing.
If you want to save money just use Zoom or Skype and Loom to record the session on remote moderated user testing.
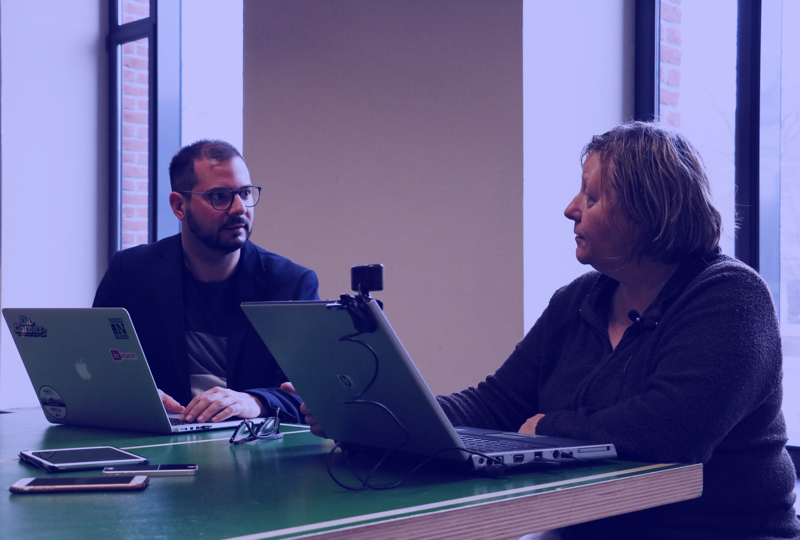
Face to Face User Testing
For this type of testing, I would greet the participant and sit by him in a laboratory or quite room with video gear, my script and starting my interview before asking him to execute the task with a “thinking aloud” approach. At the end of the session I wrap up and thanks the participant for his time by offering him gift card.
This type of user testing usually enable me as the researcher to gather user’s behaviour too and moderate the test. We always try to be in two to conduct a user test. One person do the interviewer, while the other is taking notes.
In normal user test so as on the last day of a Design Sprint, all our sessions are always recorded and given to our clients with the report summary and analysis.We invite also our client’s team to attend the test and discover user’s live-reactions on the prototype.
I have the opportunity to question every change in the attitude or behaviour of my product user that I observe with immediate effect. Although, this method can only be effective if my capability is top-notch because if I am biased, the result of the user test would be affected. It is also usually more expensive if the research involves large participants or lab’s renting.
Moderated Vs Unmoderated User Test
- Moderated: tests are ran in real-time with your presence to guid the tester. That allow you to make questions or improvised actions depending on what the tester is doing.
- Unmoderated: starting from a link, the user follow a script to execute alone the tasks you asked for. It allow you to reach people at anytime, anywhere you want without your presence.
Other Types of User Tests
Apart from the aforementioned types of user testing, there are also:
- Alpha testing: in this user testing, the users of my software are working hand in hand with my development team and I often test the software at the development site.
- Beta testing: here, my software is released to each of the users to use it at their own convenient time and give feedback about how effective the software is.
- Acceptance testing: In this user testing, my customers would test my software and decide whether they are ready to accept it.
The Different Phases I Observed While Conducting the User Test
The different phases I observed for my user test are:
1. Test Design/Script Writing—Creating a Testing Plan
By creating a test plan, I asked myself questions like; What am I testing? Why do I choose to test it? How will I go about it? What are my expected feedback? What would I do if I do not get the expected feedback? What are my next steps if it is not successful at the end of the day?
2. Choice of Panelists and Recruitment
I defined my target audience. To test my product, I made sure I had a target audience, that is, the people I tested my product on. I did it physically and digitally (by setting it up on my website so that my users can sign-up for testing via my website).
3. Test Procedure/Protocol
I went into the test field with test guides and a partner. I asked questions and followed up with questions after getting feedback. Also, I made sure I understood my target audience and went through the feedbacks to know why I ranked them the way I did.
4. Analysis
There are many ways to dig into the feedbacks and make sense of it through analysis. I kept asking myself why.
The three relevant tools I made use of were;
- User Journey: this showed/illustrated how I interacted with the prototype.
- Affinity Diagramming: this is a tool that gave key insights to my design principles and influence my next prototypes.
- 2×2 Framework: this is used to categorize my prototypes and map out my users.
5. Delivering With Clients + Deliverables
This is the point where I presented my finding to my team. This helped me and my team to reflect on the user test, conclude and start all over again with new prototypes.
How I Conducted An Effective User Test
The steps on how I effectively conducted a user test were:
Step 1: defined Testing Objectives
I defined my testing objectives by outlining the user test goals clearly since what I want to test totally depended on me.
Step 2: selected a method for testing
There were a lot of testing methods, some of which were; individual in-depth interviews; remote user testing; card sorting; A/B testing; eye-tracking and focus groups.
I had to bear in mind that my product is at a development stage when using any testing method.
Step 3: found users to represent my target
Five users are more than enough to detect 80% of the important/cogent issues. The persona of my test participants included characteristics like: age, gender, location, education, profession, income… Use panelist or just facebook ads to recruit testers.
Step 4: created scenarios for the task at hand.
In a user test you want to collect feedbacks on determinated things. In order to guid user and avoid bias you need to write scenarios with severals tasks to complete.
If you are doing research, detecting bugs or usability issues, use more exploratory tasks (unscripted testing) that are open-ended. Make the user to explore the website or the app as he would normally do, and ask him what he would expect to be able to do.
If you want to focus on specific research (conversion optimization, test specific features) then use directed tasks that guid the tester on actions with clear instructions on what he have to do. On a banking app task can be like “Please, click on that Money transfer icon and try to do a fund transfer” and specific question like “Did you find that easy? Why ?”.
Step 5: replicated the environment for my test.
For costs reasons and as in the user test in Design Sprint, I use to replicate a Lab environment for my moderated user test. My test gear is composed of :
- Reflex or Gopro: here, my software is released to each of the users to use it at their own convenient time and give feedback about how effective the software is.
- Webcam: I work with a simple C920 Logitech to capture user face while his navigating on a computer. customers would test my software and decide whether they are ready to accept it.
- Screen recorder: Depending on the product or the prototype, we also have different types of device (laptop, tablets, smartphone).
We use Loom or OBS as screen recording tools and IPEVO V4K for mobile’s user test. - Microphone: here, my software is released to each of the users to use it at their own convenient time . You can use a tools like Transcribe to make the vocal interview in transcription.
- Time-timer: Our best friend, that allow me to be always on time and respect the schedule of the testing sessions.
- Beta testing: here, my software is released to each of the users to use it at their own convenient time and give feedback about how effective the software is.
- Soft drinks: Coffee, tea, water… get everything to make feel the user at his ease and the session more chill.
Step 6: did an analysis of my findings.
In Design Sprint last day we also use the Score card by Douglas Ferguson)
Step 7: this is the user testing stage where I repeated the test after analyzing.
I discovered that my user test was very much more effective, thanks to the methods and steps taken.